|
Servo Speed Controller |
|
|
| Sometimes you want a servo to
rotate slowly to produce animation that is realistic for the
scale model you are designing. This project provides different speeds. It also has a repeat feature that activates the servo back-and-forth at the speed you have chosen. |
This compact PC board can be added between two sensors (switches) and
a servo to control the rotational speed of the servo. The output of the
servo only moves about 70 degrees as this will give the greatest
"throw" and you can select the hole on the arm to produce the travel you
want.
The repeat feature allows you to produce models with "pumping action" or
"see-saw" action as a servo is smaller and cheaper than buying a motor and gearbox.
Everything is done with a tiny 8-pin microcontroller including the
Pulse-Width program to control the servo.
Here is a set of gates controlled by 4 servos.
https://youtu.be/bc6jyj93Ee4
Our module can be used to control this:
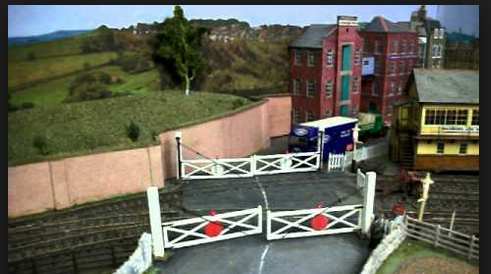
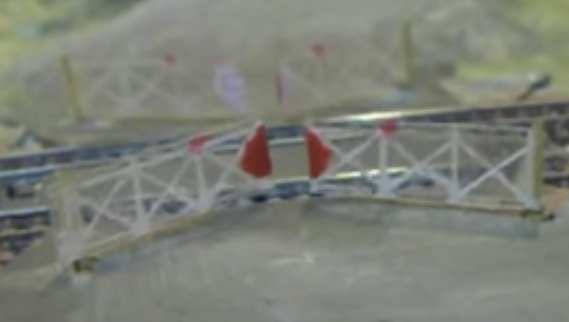
Here is another set of gates that can be controlled by ourmodule.
https://modelrailmusings.weebly.com/working-level-crossing.html
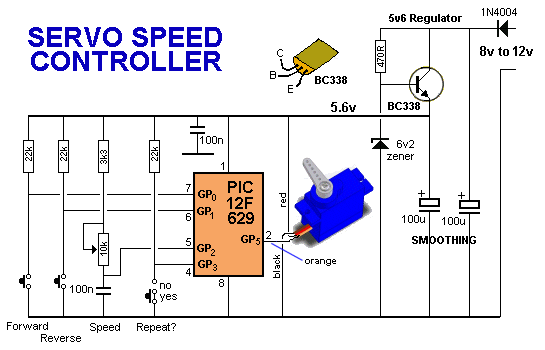
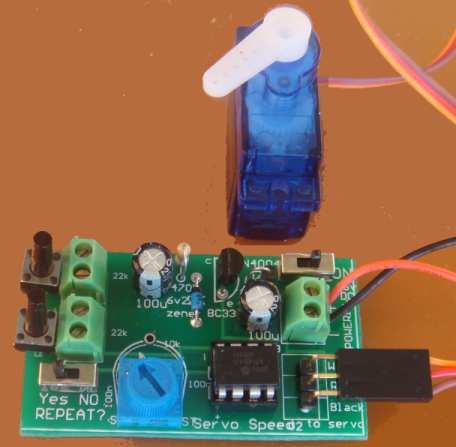
The module comes with 2 Test Switches and extension lead for servo,
plus the servo and 0.6mm and 0.7mm push rods. You just need an 8v to 12v
supply. .
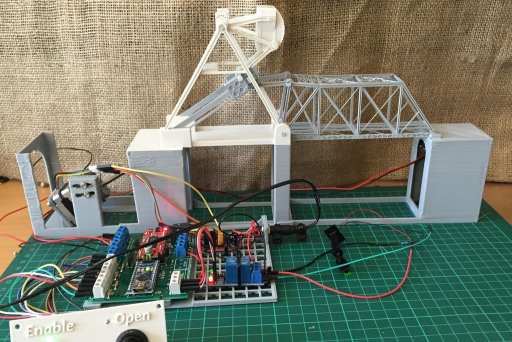
All the complex electronics in the project above can
be reduced by using our module and a servo.
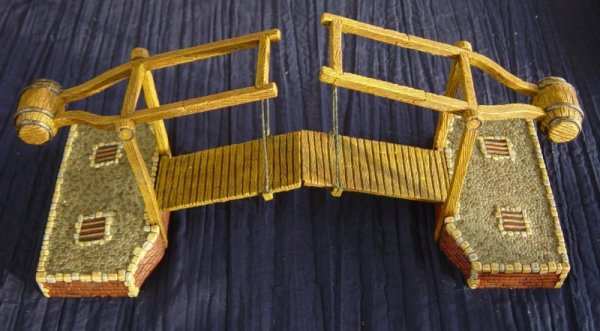
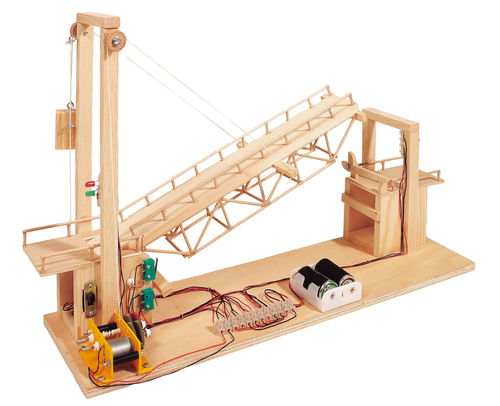
This drawbridge model can be actuated by a servo with "push-rods" and
the two switches on the module will raise and lower the walkway.
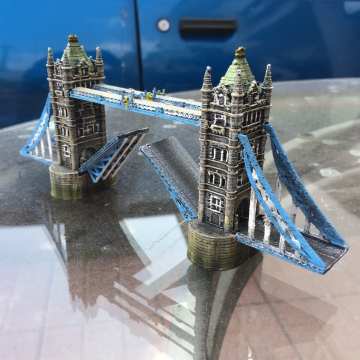
The TOWER OF LONDON can be brought to life with
our module.
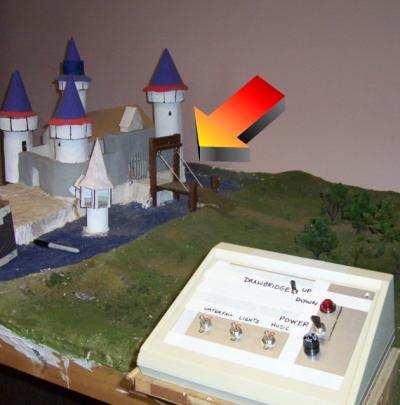
You can animate lots of different features very cheaply with our module and
do things that were
previously very expensive.
You can fabricate your own models from balsa-wood and card and plastic
and paint them to look realistic.
Our module has built "limits of travel" so you don't need limit-switches
and the servo can be slowed down to make the action realistic.
This is just a few of the ideas and when you put a module into a model
you can send in the photos for inclusion in this article.
CONNECTING THE SERVO
Connecting a servo to any model requires a fair bit of thought.
You can connect it directly or via a length of wire (rod) called a
"Push-Rod." This is called a LINKAGE and will have a small amount of
springiness to connect to the item you are driving.
The servo produces about 90
degrees of rotation. This produces enough "throw"
or movement to operate anything you want to activate.
There are also 4 holes on the arm to give different amounts of "travel."
WIRING THE SERVO
Servos come with different colours on the 3-pin connector. Red is always in the middle and brown on one side. The signal wire can be white or yellow. The module comes with an extension lead for the servo and you can ask for a very long lead when ordering the module.
|
|
|
5/7/2019